Start With How You Actually Entertain
Most outdoor kitchens that disappoint their owners were not under-equipped. They were laid out wrong. The grill ended up in a corner where the cook had his back to everyone, there was nowhere to set a hot pan down, and the two people who came out to talk to him were standing in the walkway.
Before anyone draws a counter, it is worth answering three plain questions. How many people are usually out here, and how many on the biggest day of the year? Does the cook want to be part of the conversation or apart from it? And is this a place you use for twenty minutes on a Tuesday, or for four hours on a Saturday? Those answers drive the layout more than any appliance list does.
The Layout Shapes, and When Each One Wins
There are really only a few configurations that hold up in practice. Each one solves a different problem, and the right pick usually comes down to how much room you have and whether guests are meant to gather at the counter.
- Straight run: one continuous counter against a wall or at the edge of a patio. The most affordable per linear foot and the easiest to run utilities to. Works well on narrow side yards and covered patios, but offers no natural place for guests to sit.
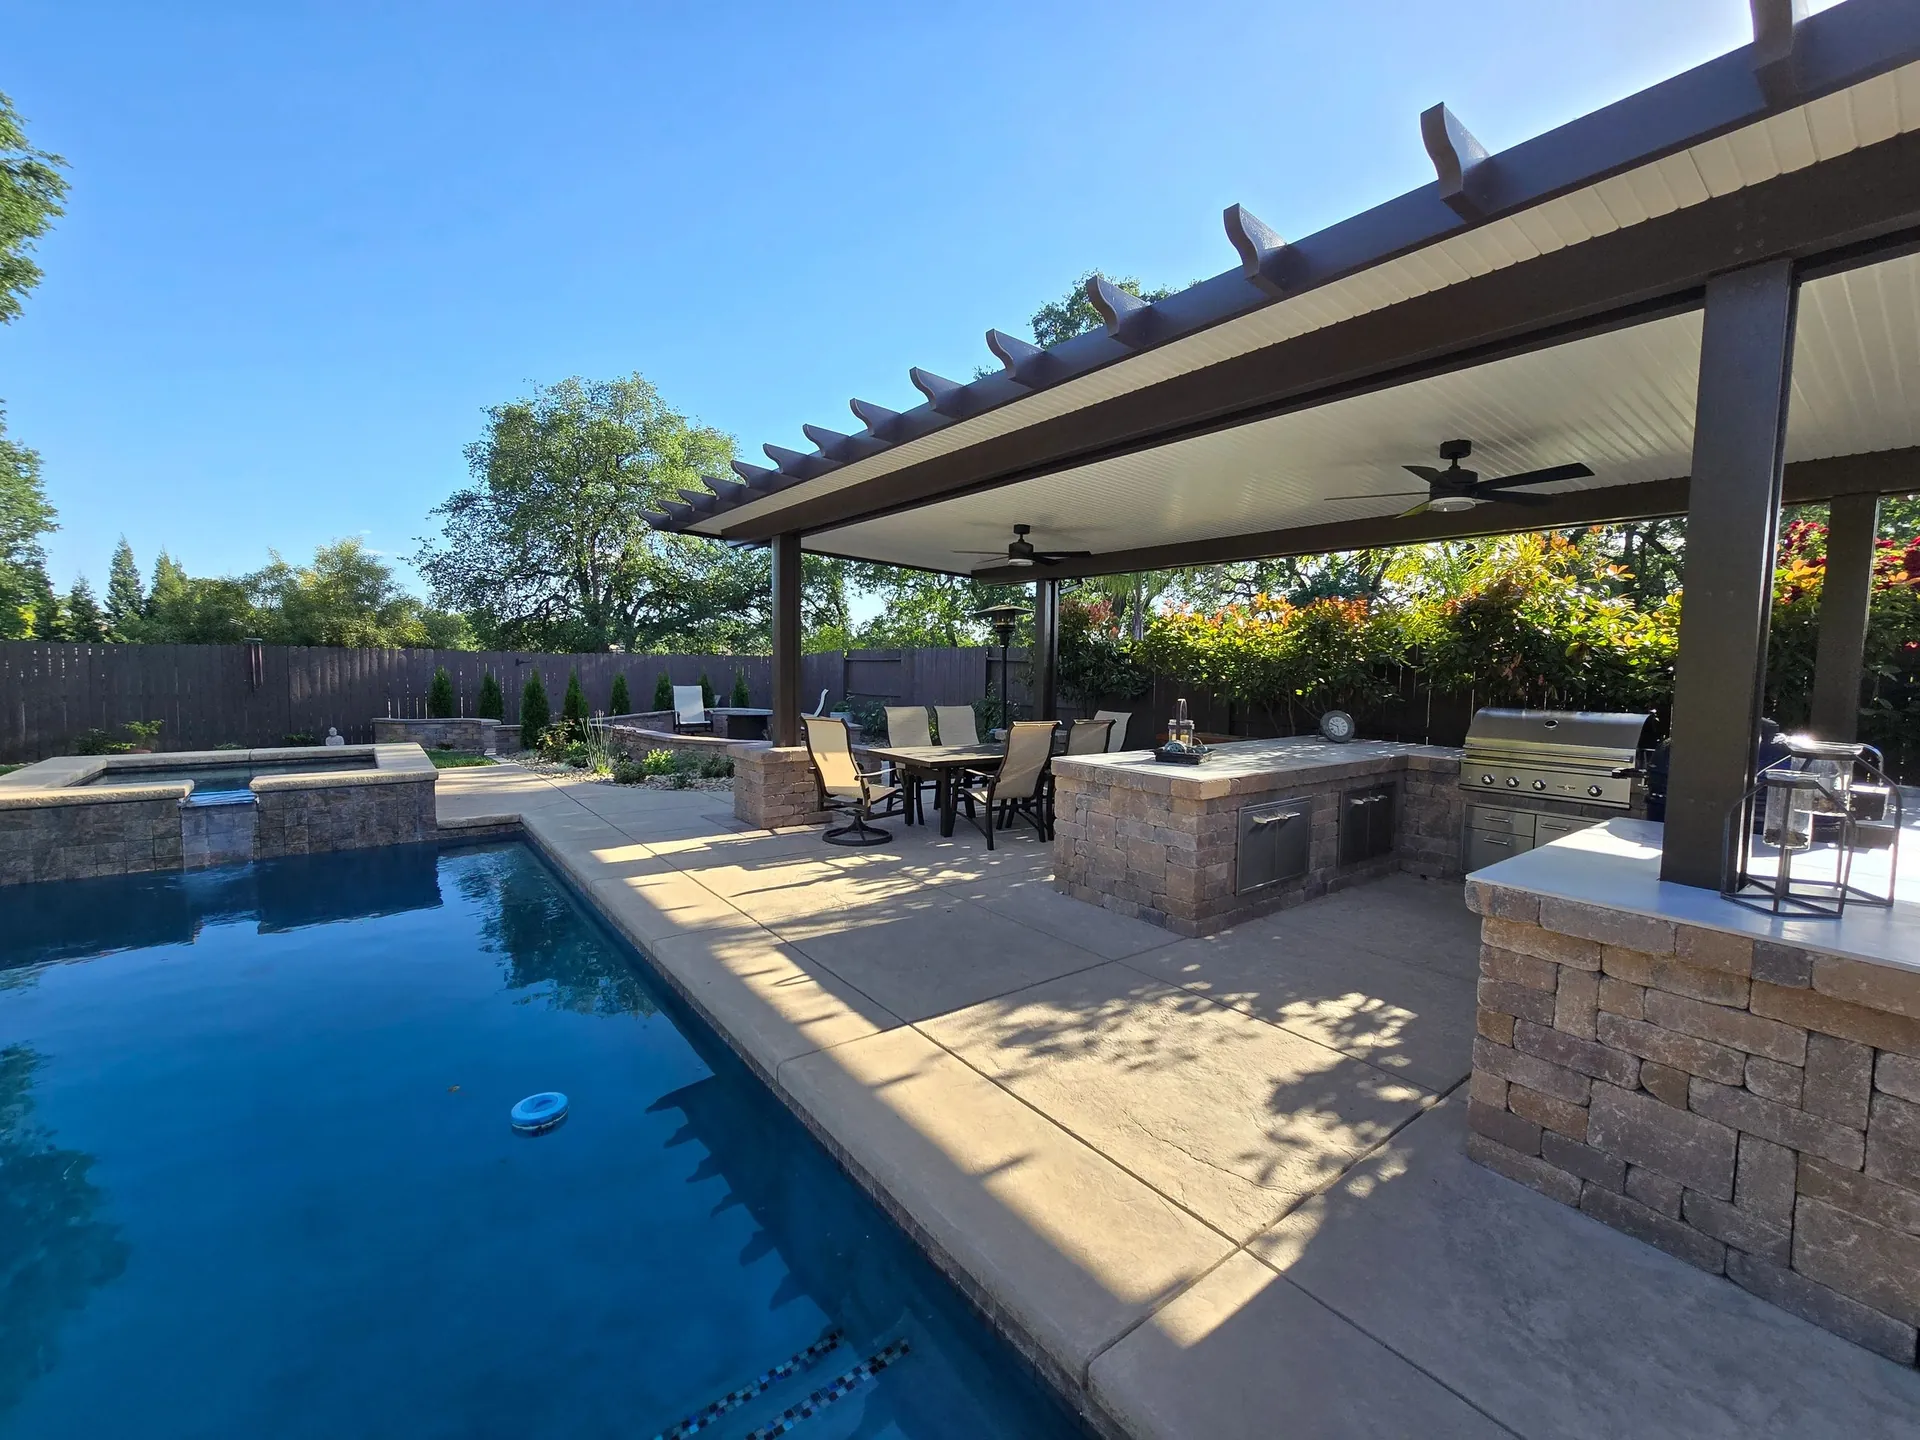
- L-shape: the workhorse. It separates cooking from prep on two legs, gives you real counter space, and creates a natural pocket the cook can stand in without blocking traffic. It fits most Roseville and Rocklin backyards without eating the whole patio.
- U-shape: maximum counter and storage, best for people who genuinely cook outdoors. It needs a lot of room, and the open side needs to face the party, not a fence.
- Island with a raised bar: the entertaining choice. A bar overhang turns the kitchen into a place people stand and talk rather than a place they walk past. Plan roughly 24 inches of width per stool so guests are not shoulder to shoulder.
- Galley: two parallel runs, typically a cooking wall and a serving or bar counter opposite. Efficient, but only worth it when you have the depth to keep the aisle generous.
Clearances Are What Make It Feel Right
The difference between a kitchen that flows and one that feels cramped is usually a matter of inches. Give yourself landing space on both sides of the grill, ideally a couple of feet on at least one side, so there is somewhere to set a platter down that is not the ground. Keep counters at standard height, around 36 inches, and bar tops higher so the two surfaces read as separate zones.
Aisles matter just as much. A working aisle behind the cook should be wide enough that someone can pass without a shuffle, and if guests are circulating through that same space, it needs to be wider still. Undersized aisles are the single most common complaint we hear about outdoor kitchens built by someone else.
Utilities Go In First, and They Stay Buried
This is the part nobody sees and everybody pays for if it is skipped. Gas, electrical, water, and drainage all need to be located, sized, and inspected before a single paver goes down, because the only way to fix them later is to take the patio apart.
Gas lines are sized to the total BTU demand of the appliances and the length of the run from the meter, so a side burner and a pizza oven added later can starve a line that was sized for a grill alone. Decide the full appliance list up front, even if you install some of it in a later phase. Electrical needs its own dedicated, GFCI-protected circuits for outlets, refrigeration, and lighting, and a refrigerator sharing a circuit with a blender is a nuisance you will remember every time it trips.
If you want a sink, it needs both a supply line and a legitimate drain, and in this climate the supply should be able to be shut off and drained ahead of a hard freeze. We also run spare conduit under the slab as a matter of course. It costs very little on the day of the pour and it is the only cheap way to add a heater, a speaker run, or a future appliance.
Designing for Sacramento Heat, Sun, and Smoke
An outdoor kitchen in Granite Bay or Folsom gets used in July and August or it does not get used much at all. Late-afternoon sun in the valley comes in low and hard from the west, so a counter with a west-facing cook position turns into the least popular spot in the yard right at dinner time. Orient the cooking side to the north or east where the site allows, and plan shade over the working area from the beginning rather than adding an umbrella later.
Pay attention to smoke and prevailing evening breeze as well. A grill placed upwind of the dining table means every gathering ends with guests moving their chairs. Material choices matter too: stainless steel in full afternoon sun gets hot enough to be unpleasant to touch, and dark stone counters hold that heat well past sunset. Lighter-toned surfaces and a covered cook zone make a real difference in how usable the space is at 6 p.m. in August.
Connecting Cooking, Dining, and Lounging
The kitchen is one zone of three, and the value is in how they relate. Dining should be close enough that food travels a few steps, not across the yard, but far enough that chairs are not in the cook's aisle. Lounge seating and a fire feature belong beyond the dining zone, so people naturally move outward as the evening goes on instead of clustering in the work area.
Underneath all of it, the same rules apply that govern any hardscape here: a properly compacted base, positive drainage away from the house and the kitchen structure, and grading that accounts for our clay soils moving with the wet season. A beautiful outdoor kitchen sitting on a settling patio is a short-term result, and that is the part homeowners cannot inspect from a photo.
If you are weighing a layout for your own yard, we are happy to walk the space with you, look at sun angles and utility runs, and give you a straight assessment of what will work there. Reach out to request a consultation and we will start with the site, not the catalog.